Struggling to come up with a fancy smancy sweater that will win you tonight’s contest on 3DWebWorldz? Don’t know how to make the arts happen? Never fear: With minimal skills and an image editor, you too can sport your own outfit for the party. I used the free editor GIMP 2, which you’ll see in this post. Your editor will have similar controls, so apply the instructions as needed! Here’s a quick tutorial that will get you dressed for success just in time.
Ready? Oh yes you are!
1: First, we’re going to grab one of the templates from the contest post. It will serve as our bottom layer, so we can see where things will fit. Open it in your image editor.
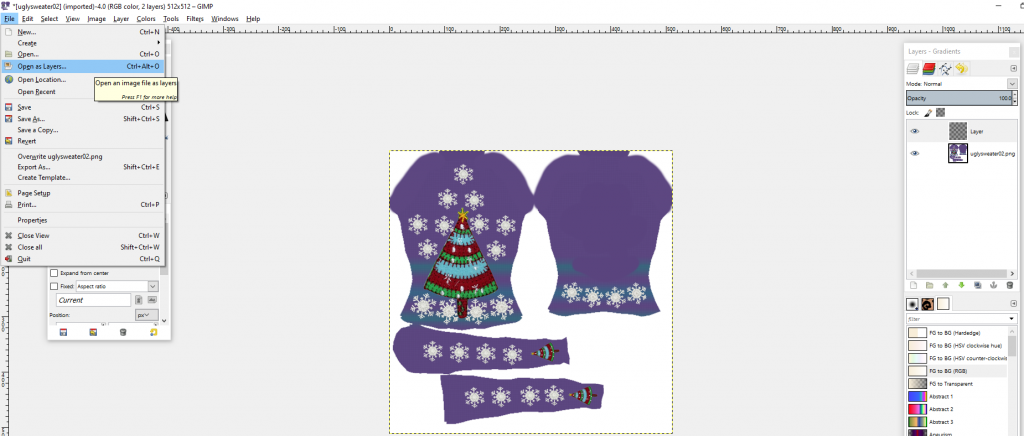
2: Now, go find your new sweater base image. Will you design your own? Use a piece of free clipart? Once you have it, open the image as a new layer. It will sit on top of the template–and you’ll begin to move things around to fit within the borders provided. Only the parts that are colored in the template will appear on the avatar.
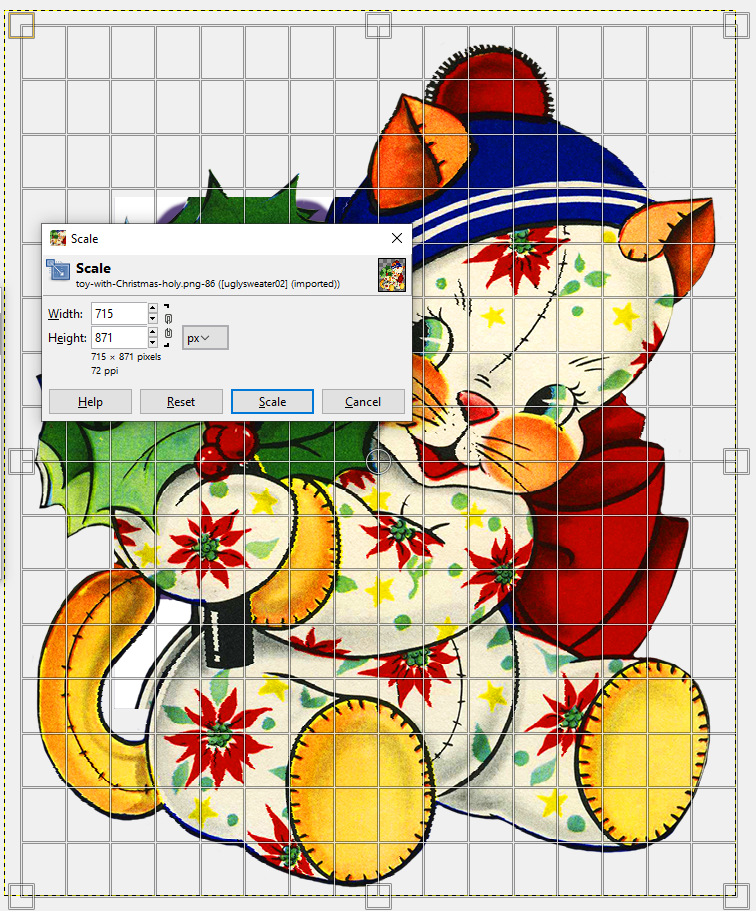
2b: For my sweater, I used a piece of free clipart. It was a giant image. GIANT. 🙂 This means an extra step, that of scaling/resizing the layer so it fits! I clicked on the scale icon in my toolbox and dragged it down. (Depending on your editor, you’ll need to hit CTRL or SHIFT as you drag the image into a smaller size. This keeps it from squishing up–technical term–so everything is consistently the same proportions at the new small size.)
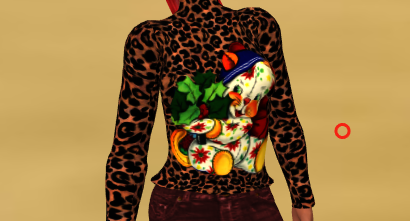
3: With the image resized, I moved it over the purple pattern so it was centered on the shirt front. It is on a different layer, so it’s not changing the template below, and it’s not actually surrounded by all that other pattern.
4: Once I add in all the details I want on the sleeves, back, and front of the pattern below, I can fill in the new background for my sweater. For this speed version of the shirt, all you have to do is mash the FILL button. Pick a solid color, pattern, gradient, whatever you like. Make sure you’re on the new layer, not the template. And Fill. With something other than this awesome leopard print. (Unless you really like leopard print and then hey, by all means knock yourself out!) 😉 Remember, the only parts of the template that will show up on the avatar are shown on that bottom layer, so don’t worry!
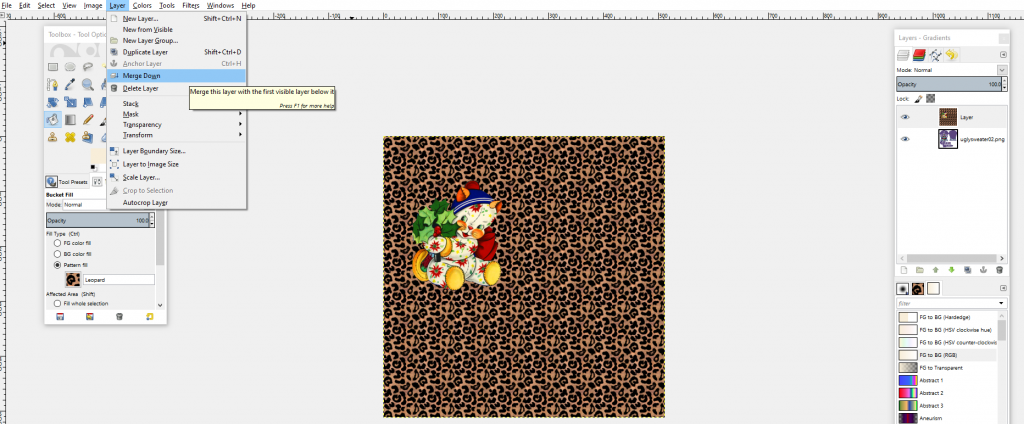
5: Okay. Quick step before you save your sweater! Merge all the layers down. You’ll find either a “Merge All” or “Flatten Layer Down” button. This will save only what’s showing on your pattern. You can also just delete the template layer, so it’s not showing anymore. All we want is your new sweater!
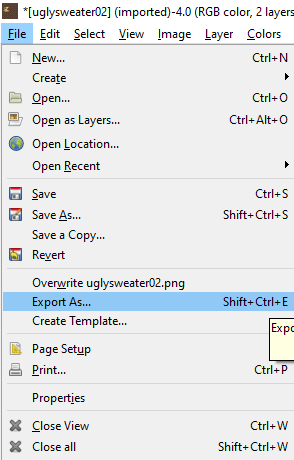
6: Export your sweater as a PNG image file.
7: Upload that image into the Avatar Closet in 3DWebWorldz. And BAM! Sweater’d! 😀 Is that not glorious? (Note: I will not be entering my fabulous leopard print sweater, so you still have a chance to win that FREE region with its sweet decked-out house.)
With a few hours to go, you’ve got plenty of time to make a design. Have fun, my creative friends!
For a tutorial on how to upload the shirt once you’ve got it saved, you can check out the FAQ here.
~~Dani